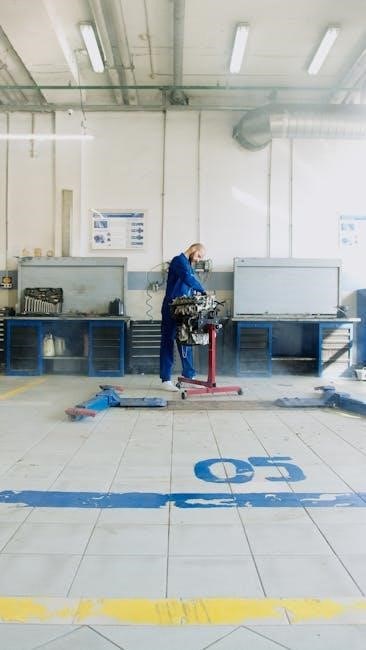
Manual transmission rebuilding is a complex process requiring precise disassembly‚ inspection‚ and reassembly. It demands mechanical aptitude‚ specialized tools‚ and patience. Proper techniques ensure longevity and performance. DIY rebuilds offer cost savings and a deeper understanding of transmission mechanics‚ making it a rewarding project for skilled enthusiasts‚ though challenging for beginners;
1.1 Understanding the Basics of Manual Transmission
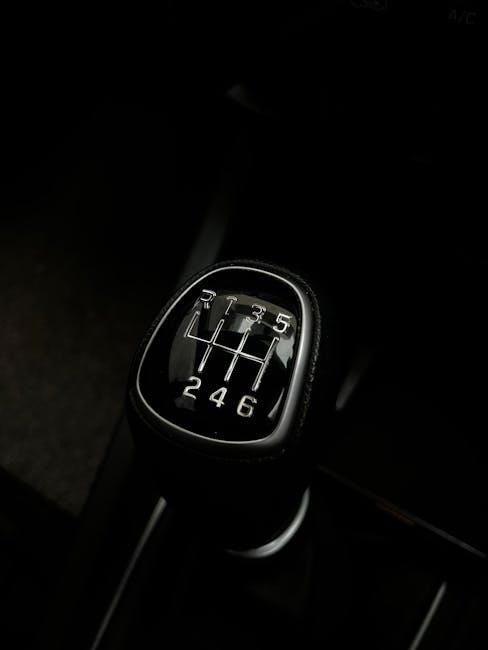
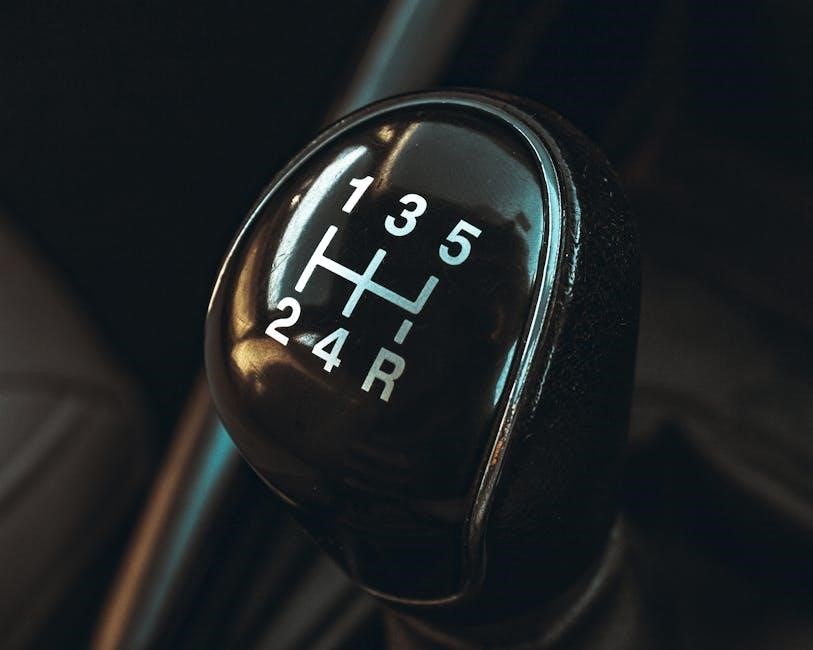
A manual transmission‚ or gearbox‚ enables drivers to manually change gears using a clutch and gearshift. It consists of gears‚ bearings‚ and shafts that transmit power from the engine to the wheels. Understanding how these components interact is crucial for successful rebuilding‚ as improper assembly can lead to mechanical failure. Familiarity with gear ratios and synchronization ensures smooth operation and longevity.
1.2 Importance of Proper Rebuilding Techniques
Proper rebuilding techniques are essential for restoring transmission reliability and performance. Incorrect methods can cause premature wear‚ noise‚ or failure. Attention to detail‚ such as aligning components accurately and using correct torque specifications‚ ensures optimal functionality. Cleanliness and precision during assembly are critical to prevent contamination and ensure smooth gear engagement‚ making the rebuild process both effective and durable in the long term.
Preparing for the Rebuild
Preparing for a manual transmission rebuild involves gathering tools‚ organizing workspace‚ and reviewing repair manuals. Safety measures and clean environments ensure efficiency and prevent component damage.
2.1 Gathering Necessary Tools and Equipment
Gathering tools and equipment is crucial for a smooth rebuild. Essential items include wrenches‚ sockets‚ bearing pullers‚ and a workbench. Specialized tools like gear pullers and seal installers are often required. Ensure all tools are in good condition to avoid damage or improper installation. A clean‚ well-organized workspace prevents loss of small parts and enhances efficiency.
2.2 Setting Up a Clean and Organized Workspace
A clean and organized workspace is essential for efficiency and preventing damage to components. Use a sturdy workbench and storage trays to keep parts sorted. Ensure proper lighting and ventilation‚ and protect surfaces with covers or mats. Labeling compartments helps track items‚ while cleaning supplies like rags and solvents are vital for maintaining hygiene and avoiding contamination during the rebuild process.
Disassembling the Transmission
Disassembling the transmission requires meticulous care and specialized tools. Each component must be removed systematically‚ ensuring parts are stored securely to avoid loss or damage during the process.
3.1 Removing the Transmission from the Vehicle
Removing the transmission from the vehicle involves lifting the car securely‚ disconnecting the driveshaft‚ and detaching electrical connectors. Use jack stands for safety and a transmission jack to support the unit. Carefully maneuver the transmission out‚ ensuring no components are damaged; This step requires precision and patience to avoid damaging surrounding parts or the vehicle’s undercarriage.
3.2 Taking Apart the Transmission Housing and Components
Once removed‚ the transmission housing is disassembled using specialized tools like bearing pullers and snap-ring pliers. Gently pry apart the housing‚ taking care not to damage the casing or internal components. Use a press to remove bearings and gears‚ ensuring proper alignment. Document each part’s placement for reassembly. Handle delicate components with precision to avoid damage during disassembly.
Inspecting and Cleaning Transmission Parts
Inspect each component for wear‚ damage‚ or contamination. Clean gears‚ bearings‚ and shafts with solvent‚ then dry thoroughly. Use compressed air to remove debris from crevices. Replace any damaged or excessively worn parts to ensure smooth operation after reassembly.
4.1 Identifying Worn or Damaged Components
A thorough inspection is crucial to spot worn or damaged parts. Look for chipped gear teeth‚ pitted bearings‚ excessive shaft play‚ and cracked or warped housings. Inspect synchros for wear and check seals for leaks. Identify any components with unusual wear patterns or damage. Early detection prevents costly issues during reassembly and ensures reliable performance post-rebuild.
4.2 Cleaning Gears‚ Bearings‚ and Other Parts
Clean gears‚ bearings‚ and components using a solvent to remove grease‚ dirt‚ and debris. Use a soft-bristle brush for stubborn grime. Avoid abrasive materials that may scratch surfaces. Rinse thoroughly with clean solvent and dry with compressed air to prevent rust. Inspect parts for any remaining contamination before reassembly. Proper cleaning ensures smooth operation and prevents premature wear.
Selecting and Acquiring Replacement Parts
Selecting the right bearings‚ seals‚ and gears is crucial for proper transmission function. Use OEM specifications or equivalent aftermarket parts to ensure compatibility and durability. Always consult part catalogs or seek advice from experts to avoid mismatches. Purchase from reputable suppliers to guarantee quality and reliability.
5.1 Choosing the Right Bearings and Seals
Choosing the right bearings and seals is critical for smooth transmission operation. Always opt for high-quality‚ OEM-specified parts to ensure proper fitment and durability. Bearings must be precisely sized to match original specifications‚ while seals should be made from durable materials to prevent leaks. Avoid mixing old and new parts‚ as this can lead to premature wear. Refer to part catalogs or consult experts to confirm compatibility. Purchasing from reputable suppliers ensures authenticity and performance.
5.2 Understanding the Cost of Replacement Parts
Understanding the cost of replacement parts is essential for budgeting your manual transmission rebuild. Prices vary widely based on the quality and source of components. OEM parts are typically more expensive but offer superior durability. Aftermarket alternatives can be more affordable while still maintaining performance. Always research and compare prices to find the best value. Consulting part catalogs or experts ensures accurate cost estimation and prevents overspending.
Reassembling the Transmission
Reassembling the transmission requires careful alignment of components‚ following manufacturer specifications. Specialized tools ensure proper installation of bearings‚ gears‚ and seals‚ guaranteeing smooth operation.
6.1 Installing New Bearings and Gaskets
Installing new bearings and gaskets is critical for smooth operation. Use specialized tools to press bearings into place‚ ensuring proper alignment. Apply a thin layer of lubricant to gaskets for a leak-free seal. Tighten components in the correct sequence to avoid uneven wear. Proper installation prevents noise‚ vibration‚ and premature wear‚ ensuring optimal transmission performance and longevity.
6.2 Reattaching the Transmission Housing
Reattach the transmission housing carefully‚ ensuring proper alignment with the gearbox. Apply a new gasket or sealant to prevent leaks. Tighten housing bolts in a star pattern to avoid warping. Use a torque wrench to meet manufacturer specifications. Double-check alignment and ensure all components are secure. Properly reattaching the housing is essential for transmission stability and leak-free operation.
Lubrication and Fluid Replacement
Lubrication is critical for reducing friction and wear on moving parts. Use the correct transmission fluid type and ensure proper application. Refill fluid to recommended levels for smooth operation.
7.1 Applying the Correct Lubricants to Moving Parts
Applying the right lubricants ensures smooth operation and prevents wear. Use high-quality grease for bearings and synchromesh points. Apply a thin‚ even layer to gear teeth. Avoid over-lubrication‚ which can attract dirt. Proper lubrication reduces friction and heat buildup‚ extending component life. Always follow the manufacturer’s recommendations for lubricant types and application amounts. Clean parts thoroughly before applying lubricants for optimal results.
7.2 Refilling Transmission Fluid
Refilling transmission fluid is crucial for smooth operation. Use the manufacturer-recommended fluid type to ensure compatibility. Fill to the specified level using a funnel to prevent spills. Avoid overfilling‚ as it can lead to leaks or damage. Replace the filler plug securely and check for leaks. Proper fluid levels protect gears and bearings‚ ensuring optimal performance and longevity of the transmission.

Reinstalling the Transmission in the Vehicle
Reinstalling the transmission requires precise alignment with the engine and drivetrain. Ensure all mounts and connections are secure and properly tightened to specifications.
8.1 Aligning the Transmission with the Engine
Aligning the transmission with the engine is crucial for proper drivetrain function. Use alignment tools to ensure the transmission input shaft fits precisely into the clutch or flywheel. Misalignment can cause vibration‚ wear‚ or damage. Double-check the manufacturer’s specifications and torque mounts securely to maintain stability and prevent future issues during operation.
8.2 Securing the Transmission Mounts
Securing the transmission mounts properly ensures stability and prevents excessive movement. Use the correct tools to tighten bolts to the manufacturer’s torque specifications. Inspect mounts for wear or damage and replace if necessary. Ensure the transmission is aligned correctly before tightening to avoid drivetrain misalignment. Properly secured mounts enhance vehicle safety and performance‚ preventing potential issues during operation.
Bleeding the Clutch System
Bleeding the clutch system removes air bubbles‚ ensuring proper hydraulic pressure. Use a bleeding kit to pump fluid through the slave cylinder and clutch master cylinder.
9.1 Understanding the Clutch Bleeding Process
The clutch bleeding process involves purging air from the hydraulic system to restore proper clutch engagement. Begin by connecting a bleeding kit to the slave cylinder. Pump brake fluid through the system until it flows freely without bubbles. Ensure all air is removed to prevent spongy pedal feel and inconsistent clutch operation. Repeat if necessary for optimal performance.
9.2 Ensuring Proper Clutch Engagement
After bleeding‚ test the clutch pedal for smooth operation. Ensure it engages fully without slipping. Adjust the clutch cable or hydraulic system if needed to achieve the correct bite point. Proper engagement prevents wear on components and ensures smooth shifting. Test drive the vehicle to confirm functionality‚ making adjustments as necessary for optimal performance and driver control.
Testing the Transmission
Testing involves checking for leaks and ensuring smooth gear shifts. A test drive confirms proper operation and overall performance‚ validating the rebuild’s success and functionality.
10.1 Checking for Leaks and Proper Functionality
After reassembly‚ inspect the transmission for any fluid leaks around seals and gaskets. Ensure all gears engage smoothly and quietly. Test the clutch pedal for proper engagement and disengagement. Verify that all linkages and controls function as intended. A thorough inspection ensures reliability and prevents premature wear. Addressing issues early avoids costly repairs down the road.
10.2 Taking the Vehicle for a Test Drive
A test drive is essential to verify the transmission’s performance. Drive in various conditions to ensure smooth shifting and proper gear engagement. Check for unusual noises or vibrations. Accelerate gradually to test clutch operation and gear synchronization. This step confirms the rebuild’s success and identifies any remaining issues needing adjustment or repair.
Maintenance and Future Care
Regular maintenance is crucial for ensuring the longevity of a rebuilt manual transmission. Schedule periodic checkups‚ replace worn parts‚ and monitor fluid levels to maintain optimal performance and prevent future issues.
11.1 Scheduling Regular Maintenance
Regular maintenance is essential for ensuring the longevity of a rebuilt manual transmission. Schedule checkups every 30‚000 to 60‚000 miles‚ including inspections of seals‚ bearings‚ and fluid levels. Addressing issues early prevents wear and tear‚ ensuring smooth operation and reliability. Consistent upkeep helps maintain performance and avoids costly repairs down the road.
11.2 Monitoring Transmission Performance
Monitoring transmission performance involves regular checks for unusual noises‚ vibrations‚ or fluid leaks. Ensuring smooth gear engagement and consistent operation helps identify potential issues early. Regular inspections of seals‚ bearings‚ and fluid levels are crucial for maintaining optimal performance and preventing major repairs.
Troubleshooting Common Rebuild Issues
Troubleshooting common rebuild issues involves identifying symptoms like leaks‚ noise‚ or gear slippage. Early detection and corrective action prevent major repairs and ensure smooth transmission operation.
12.1 Addressing Noise or Vibration Problems
Noise or vibration issues during transmission operation often indicate worn bearings‚ misaligned gears‚ or insufficient lubrication. Inspecting gear teeth for wear and ensuring bearings are properly seated can help diagnose the source. Applying the correct lubricants and verifying gear alignment are crucial steps to eliminate these problems and ensure smooth transmission performance.
12.2 Fixing Gears That Slip or Stick
Gears that slip or stick typically result from worn synchronizers‚ damaged gear teeth‚ or insufficient lubrication. Inspecting synchronizer rings and gear surfaces for wear is essential. Replacing damaged components and ensuring proper lubrication can resolve slipping issues. Adjusting gear alignment and replacing worn bearings may also be necessary to restore smooth gear engagement and eliminate sticking problems.